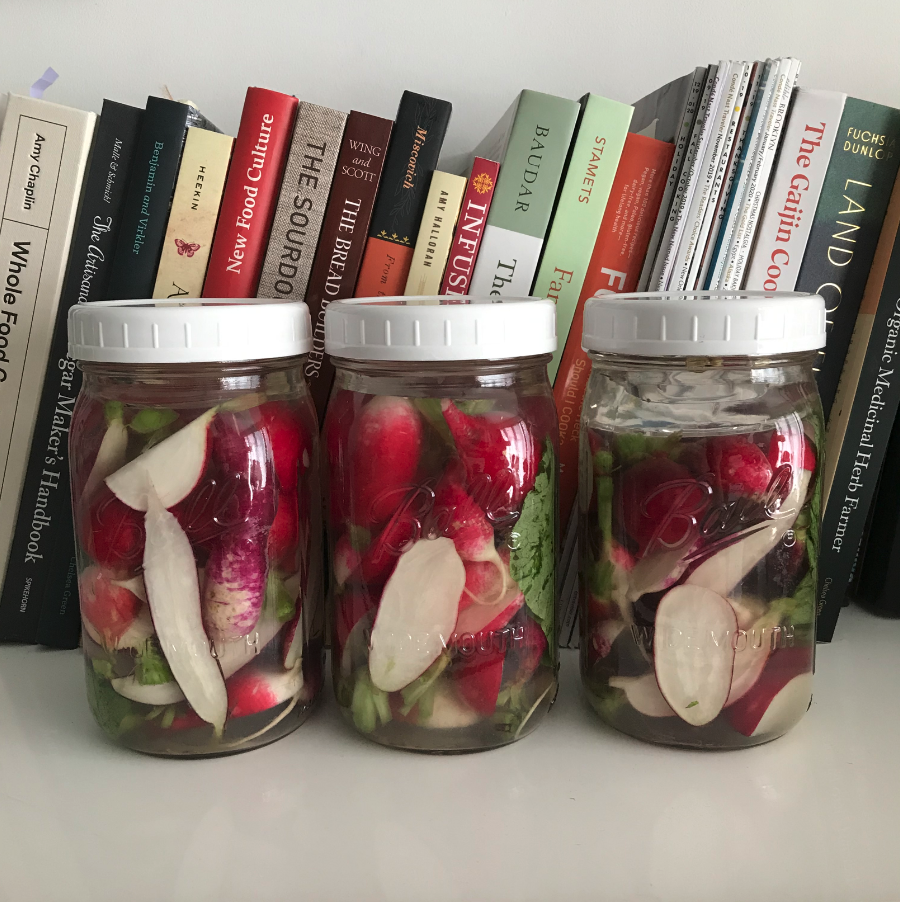
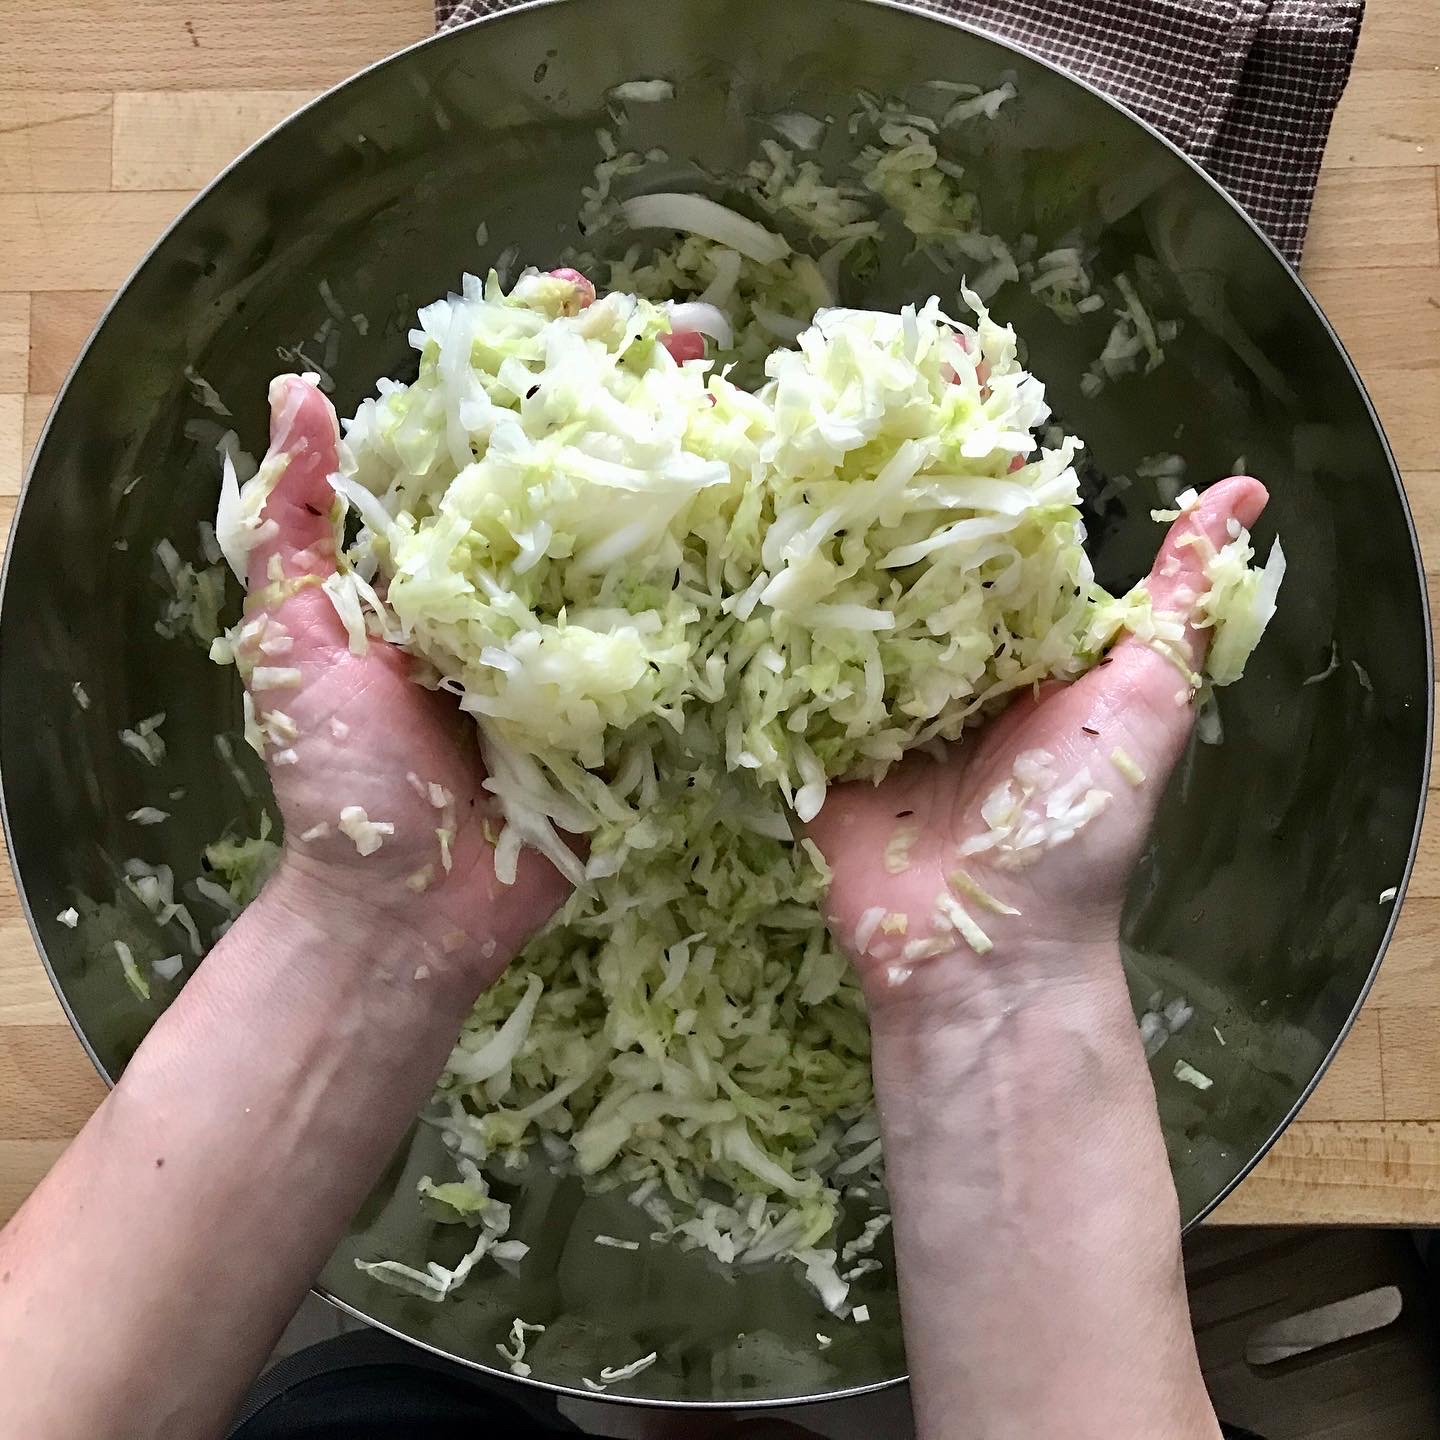
Lacto-fermented radishes
Our second experiment with ferments was following the recipe by Amy Chaplin on her book Whole Food Cooking Every Day: Transform the way you eat...
June 21, 2020

Our second experiment with ferments was following the recipe by Amy Chaplin on her book Whole Food Cooking Every Day: Transform the way you eat...
After a few years of no posting ideas and recipes, traveling more, cooking, and experiencing new and unique flavors, we feel that we are on...
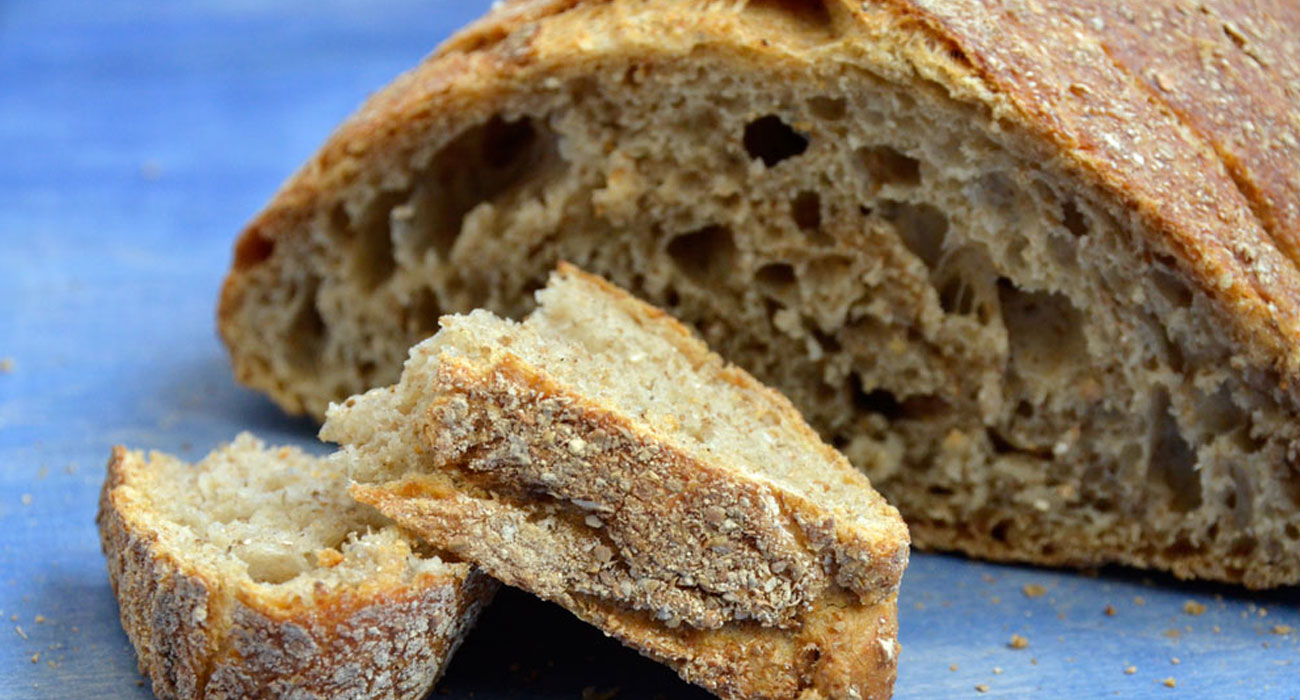
Yield: One 10-inch round loaf (1 1/4 pounds) Equipment: A 41/2 to 5/1/2-quart heavy pot INGREDIENTS 2 1/4 cups bread flour (300 grams) 3/4 cup whole wheat flour (100...

Prawn Chowder (Serves 4) This is a particularly good soup for a cold winter’s night. It has all the warmth and comforting properties of a classic...
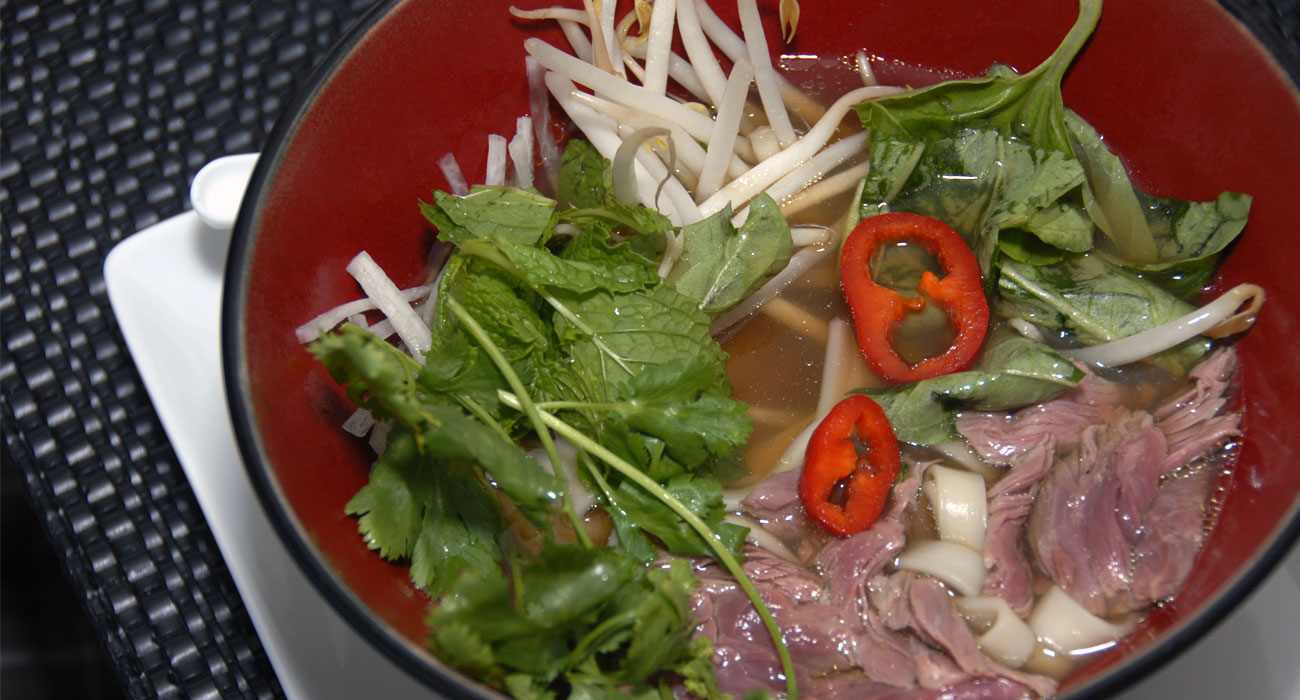
After reading several recipes, we decided to make Pho at home. Essentially the broth is the soul and body of the dish. Apparently, street vendors in...

For a while we have heard about the delicious breakfast pastries, cakes, tarts, cookies and breads that are created everyday at Tartine Bakery in San...