Glass potato chips
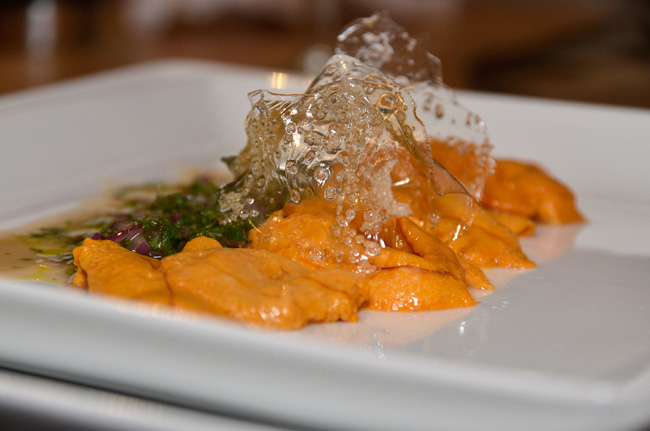
The chips served on top of sea urchin (erizos) and cilantro red onions salsa.
In June we found this recipe on the Instructables newsletter, originally created by Chef Hamid Salimian .
It looked very intriguing, so we tried it out. First we had to extract the potato flavor, so here we roast the potatoes (Yukon gold).
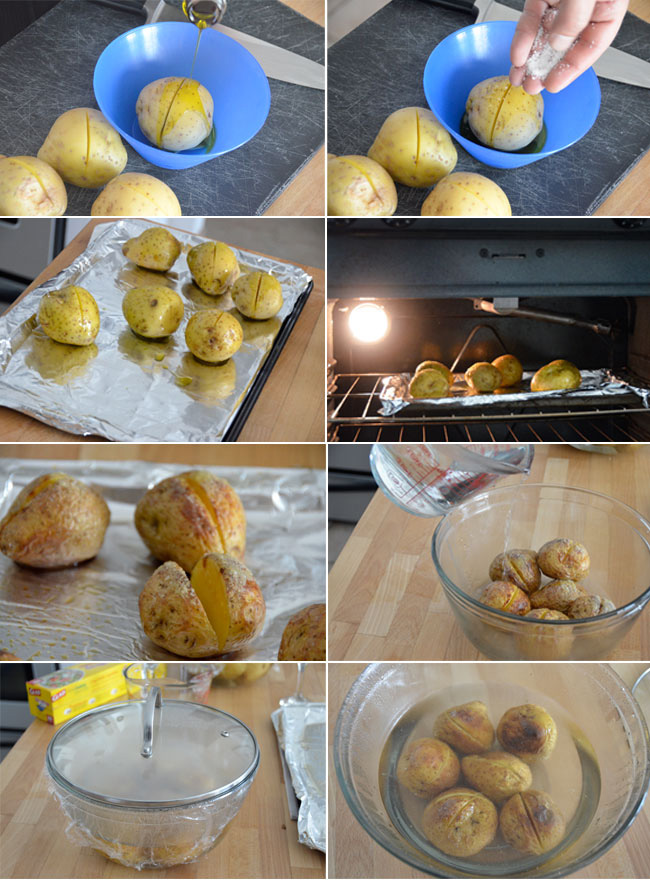
1. Wash and dry potatoes. Cut a slit about half way through, toss with olive oil and kosher salt, arrange on baking sheet and bake in hot oven for 30 min.
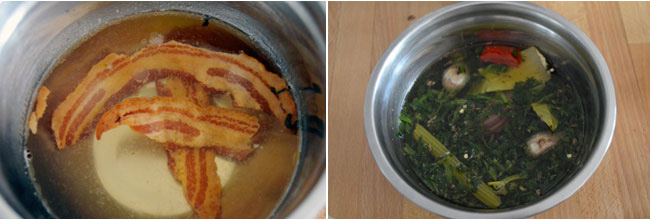
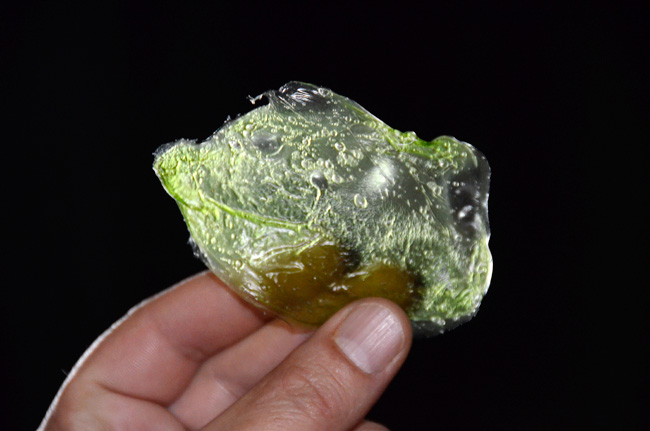
2. Place roasted potatoes on a heat proof bowl and cover with 4 cups of very hot water. (Not boiling, though). cover and let stand to cool down at room temperature for a few hours. At this point, We did a few variations as experiments: one batch remained just roasted potato, one third was flavored with bacon and one third was infused with roasted vegetables, (spinach, kale, onions, garlic, celery, cilantro and a dried chili pepper).
3. Remove the potatoes and other flavorings, strained the liquid in a fine mesh, and stored them in plastic containers with lid in the refrigerator overnight.
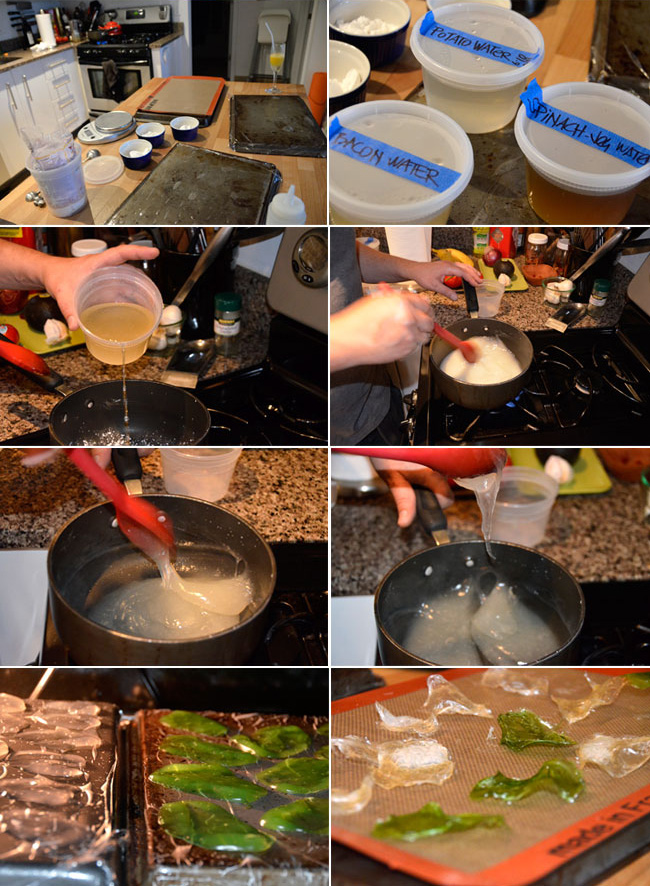
4. To make the potato gel, mix in a pot the potato flavored stock with 4 tablespoons of potato starch and bring up to heat while whisking constantly until it thickens up. This happens very quickly. It takes less than 5 minutes. When it starts to cool down is time to make the shapes. The original recipe calls for spreading the gel on parchment paper on a baking sheet and drying it all on a 135°F oven for two hours and breaking the dried sheet in to smaller pieces before frying.
Imonopeas, the author of the instructables for this recipe, came up with the idea of using a squeeze bottle to make potato chip shapes before drying the gel.
We used a Ziplock bag with a snipped corner to do this same idea. Besides the parchment paper, We also tried drying the gel on waxed paper, plastic wrap and a silicone mat.
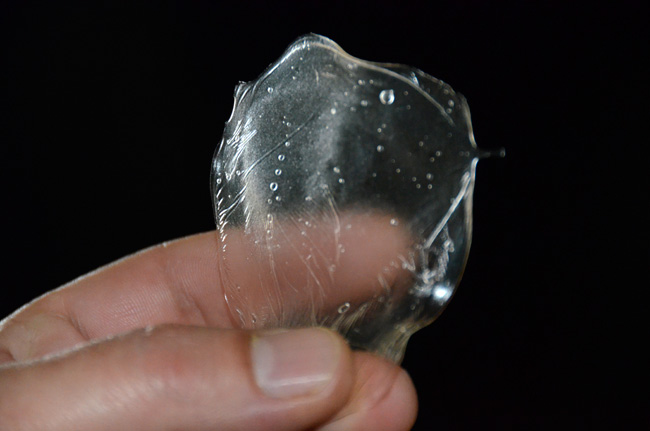
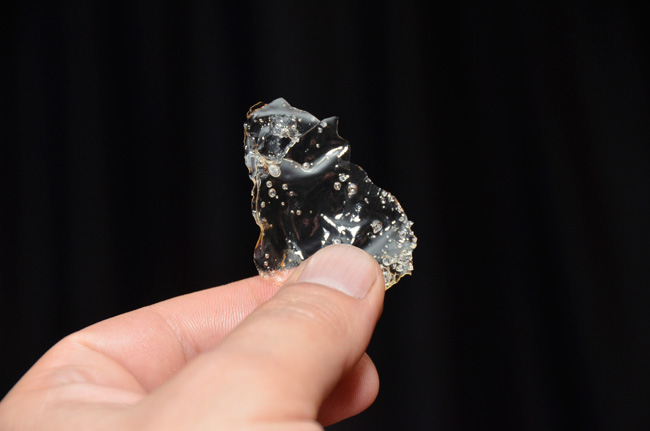
The silicone mat worked OK. it was slow to dry but worked. The waxed paper and the Saran wrap were absolute fails. Parchment paper is definitely the way to go. It took almost 24 hrs. for the chips to dry completely, in a cool oven. Once dry they become hard and translucent, and feel more like a plastic chip.
5. Frying them was the most difficult part, we used vegetable oil and tried different temperature runs.
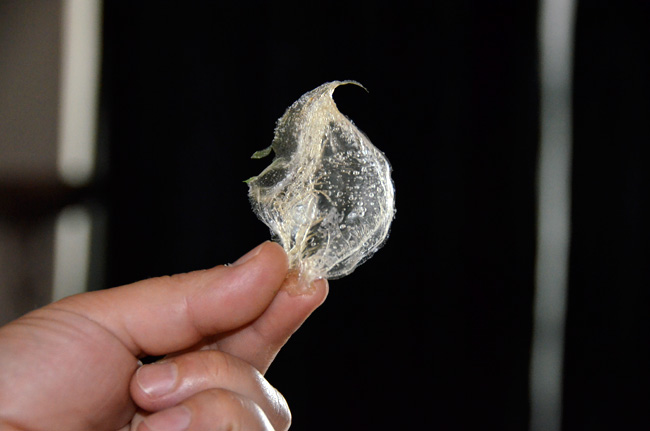
At 350°F they curled and puffed like Chinese shrimp crackers or fried pork skins. At 310°F they soak oil and become clear but don’t cook. the ideal temperature seems to be around 328 to 335°F. It takes a few minutes to cook them at this temperature, anywhere higher and they start puffing up and turning white.
The chips before frying
The chips after frying

No Comments