
Dumplings
Lately I have been really into Asian food and I decided to learn more. The first step was to get good cooking books that combine some aspect of food culture and recipes itself.
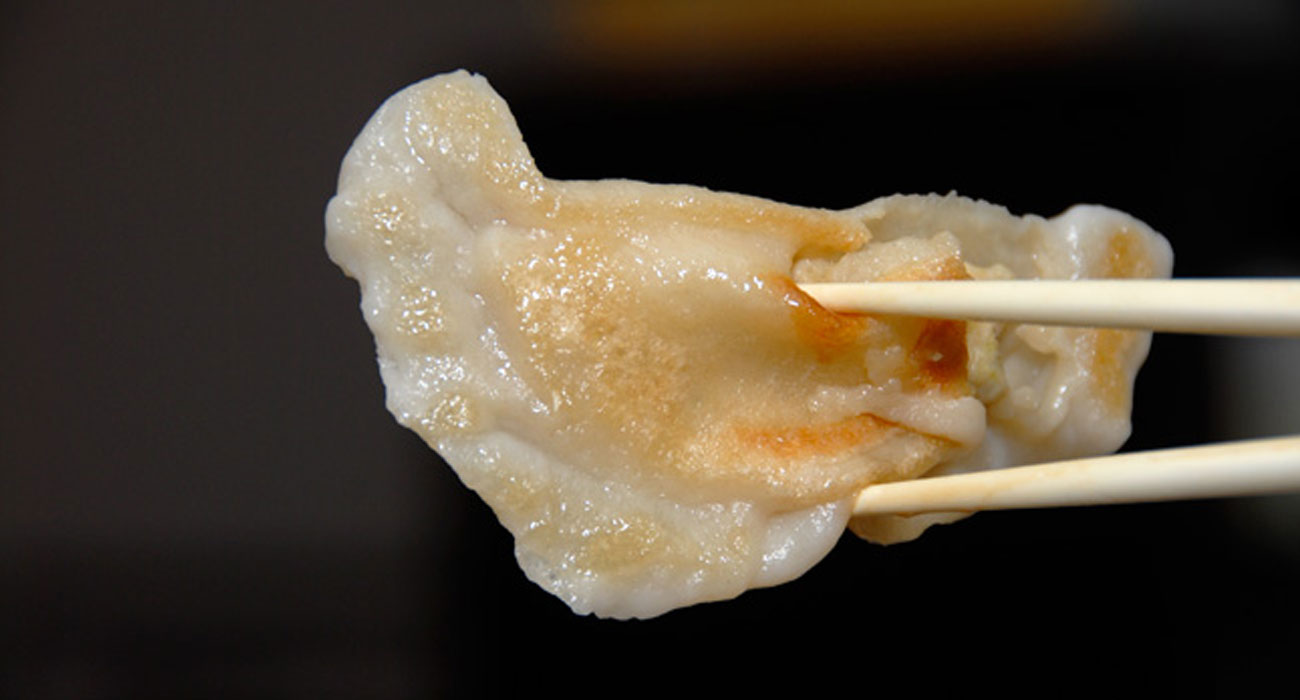
The first book is called Asian Dumplings, mastering Gyoza, Spring Rolls, Samosas, and More by Andrea Nguyen. One of the recipes that captured my attention when I was flipping the pages, was the fish and Chinese chives dumplings. I did change the the way to make the wrappers, because I found it more easy just rolling the entering dough and cutting the 3 1/4 inch circles with our handy beer glasses.
At the end was a lot fun and inspired us to go to Flushing, Queens to get some new Chinese and Indian ingredients, a bigger bamboo steamer and a dumpling pin roll. Have a great lunch at Xi’an Famous Food and start planning the next recipe.
If you haven’t try this restaurant we totally recommend it. Take a look this video to see what is all about.
YOU WILL NEED
FILLING
2/3 ound mild tasting white fish fillet, such code or sole
Scant 1/2 teaspoon salt
1/8 teaspoon ground white pepper
1/4 cup chicken stock
1 1/2 tablespoons soy sauce
1 tablespoon Shaoxing rice wine or dry sherry
2 tablespoons canola oil
2 tablespoons sesame oil
1 1/2 tablespoons finely minced fresh ginger
3/4 cup chopped Chinese chives or scallions
1 pound basic dumpling dough (recipe below)
Canola or peanut oil (if pan frying)
2/3 tangy soy dipping sauce
HOW TO DO IT
1. To make the filling, cut the fish into 1-inch chunk, discarding any bones. Put the fish in a food processor.
2. In a small bowl, combine the salt, white pepper, chicken stock, sou sauce, wine, canola oil, and sesame oil. Mix well to create a seasoning liquid, and then pour about 2 tablespoons of the liquid into the food processor. Run the food processor, pouring the remaining seasoning liquid through the feed tube. Grind to a coarse paste, stopping occasionally to scrape down the sides.
3. Return the paste to the bowl and mix in the ginger and Chinese chives or scallions. To develop the flavors, cover with plastic wrap and set aside at room temperature for 30 minutes. You should have about 2 cups of filling.
4. Form the wrappers to about 3 1/4 inches in diameter.
5. Before assembling the dumplings, line a 2 baking sheets with lightly floured parchment paper.
6. For each dumpling, hold a wrapper in a slightly cupped hand. Scoop about 1 tablespoon of filling as shown on the pictures.
7. Once assembled, the dumplings can be covered with plastic wrap and refrigerated for several hours; they can be cooked straight from the refrigerator. For longer storage, freeze them on their baking sheet until hard (about an hour), transfer them to a zip-top freezer bag, and keep them frozen for about 1 month.
8. You can poach them, do panfried pot stickers or steamed dumplings and serve them with dipping sauce.
We tried the pot stickers using a large skillet, heating it over medium heat and adding 2 tablespoons of oil. First place the dumplings 1 at the time, sealed edges up, in a winding circle pattern.Fry the dumplings for 1 to 2 minutes, until they are golden brown on the bottom.
Hold the lid close the skillet as you pour 1/3 cup of water (be careful when the water hit the oil). The water will boil immediately, cover the skillet and let cook over medium heat for 8 to 10 minutes until the water is mostly gone. Remove the lid and let fry for another 2 minutes until the bottoms are brown and crisp. Serve with tangy dipping sauce.
TANGY DIPPING SAUCE
1/3 cup soy sauce
2 1/2 tablespoons rice wine or balsamic vinegar
1/8 teaspoon sugar (optional)
1 to 3 spoons Chile oil
1 tablespoon finely shredded fresh ginger or
1 teaspoon finely minced garlic (optional)
BASIC DUMPLING DOUGH
(Makes about 1 pound, enough for 32 medium or 24 large dumplings)
2 cups unbleached all-purpose flour
About 3/4 cup just-boiled water
1. Put the flour in a food processor and add 3/4 of water in steady stream through the feed tube. A soon as all the water has been added, stop the machine and check the dough. It should look rough and feel soft but firm enough to hold its shape when pinched. If necessary, add water by the teaspoon or flour by the tablespoon. When satisfied, run the machine for another 5 to ten seconds to further knead and form a ball around the blade. Avoid overworking the dough.
2. Alternatively, make the dough by hand until achieve the results just mentioned.
3. Regardless of the mixing method, transfer the dough and any bits to work surface; flour your work surface only if necessary, and then sparingly. Knead the dough with the heel of your hand for about 30 seconds for a machine-made dough, or about 2 minutes for handmade dough. The result should be nearly smooth and somewhat elastic, press on the dough; it should slowly bounce back, with a light impression of your finger remaining. Place the dough in a zip-top plastic bag and seal tightly closed, expelling excess air. Set aside to room temperature for at least 15 minuted and up 2 hours. The dough will steam up the plastic bag and become earlobe soft, which makes wrappers easy to work with.
4. After resting the dough can be used right away to form the wrappers. Or, refrigerate it overnight and returned it to room temperature before using.
No Comments